Specialty Project UV Inkjet Printing
The Overview
The final project of the course was to create a specialty print project. This project had loose instructions that were to print on any object or item of your choosing that fits within your brand. I decided to print onto gardening gloves since my brand, of course, is Flourish Fertilizer and the gloves would work perfectly with the brand identity. I researched several fabrics of garden gloves to find one that my professor and I thought would print the best using the Milmaki UV inkjet printer. At this point, printing onto a flexible fabric garden glove was just an idea and we weren’t really sure if it could be done, but I was willing to try!
Design, Proofing, & Preflighting
For the gloves, I really wanted to print the Flourish Fertilizer logo on the gloves. It turned out to be quite a challenge to find garden gloves that were a close knit fabric that didn’t already have a design on them, but finally I found a few pairs I could work with. The only change I made to the original brand logo was to eliminate the small text that said “fertilizer” since I was worried the printer wouldn’t be able to print such small typography. After the design was complete I uploaded the Adobe Illustrator file to the GC server in order to be able to access it from the lab computer.
Milmaki UV Inkjet Printing
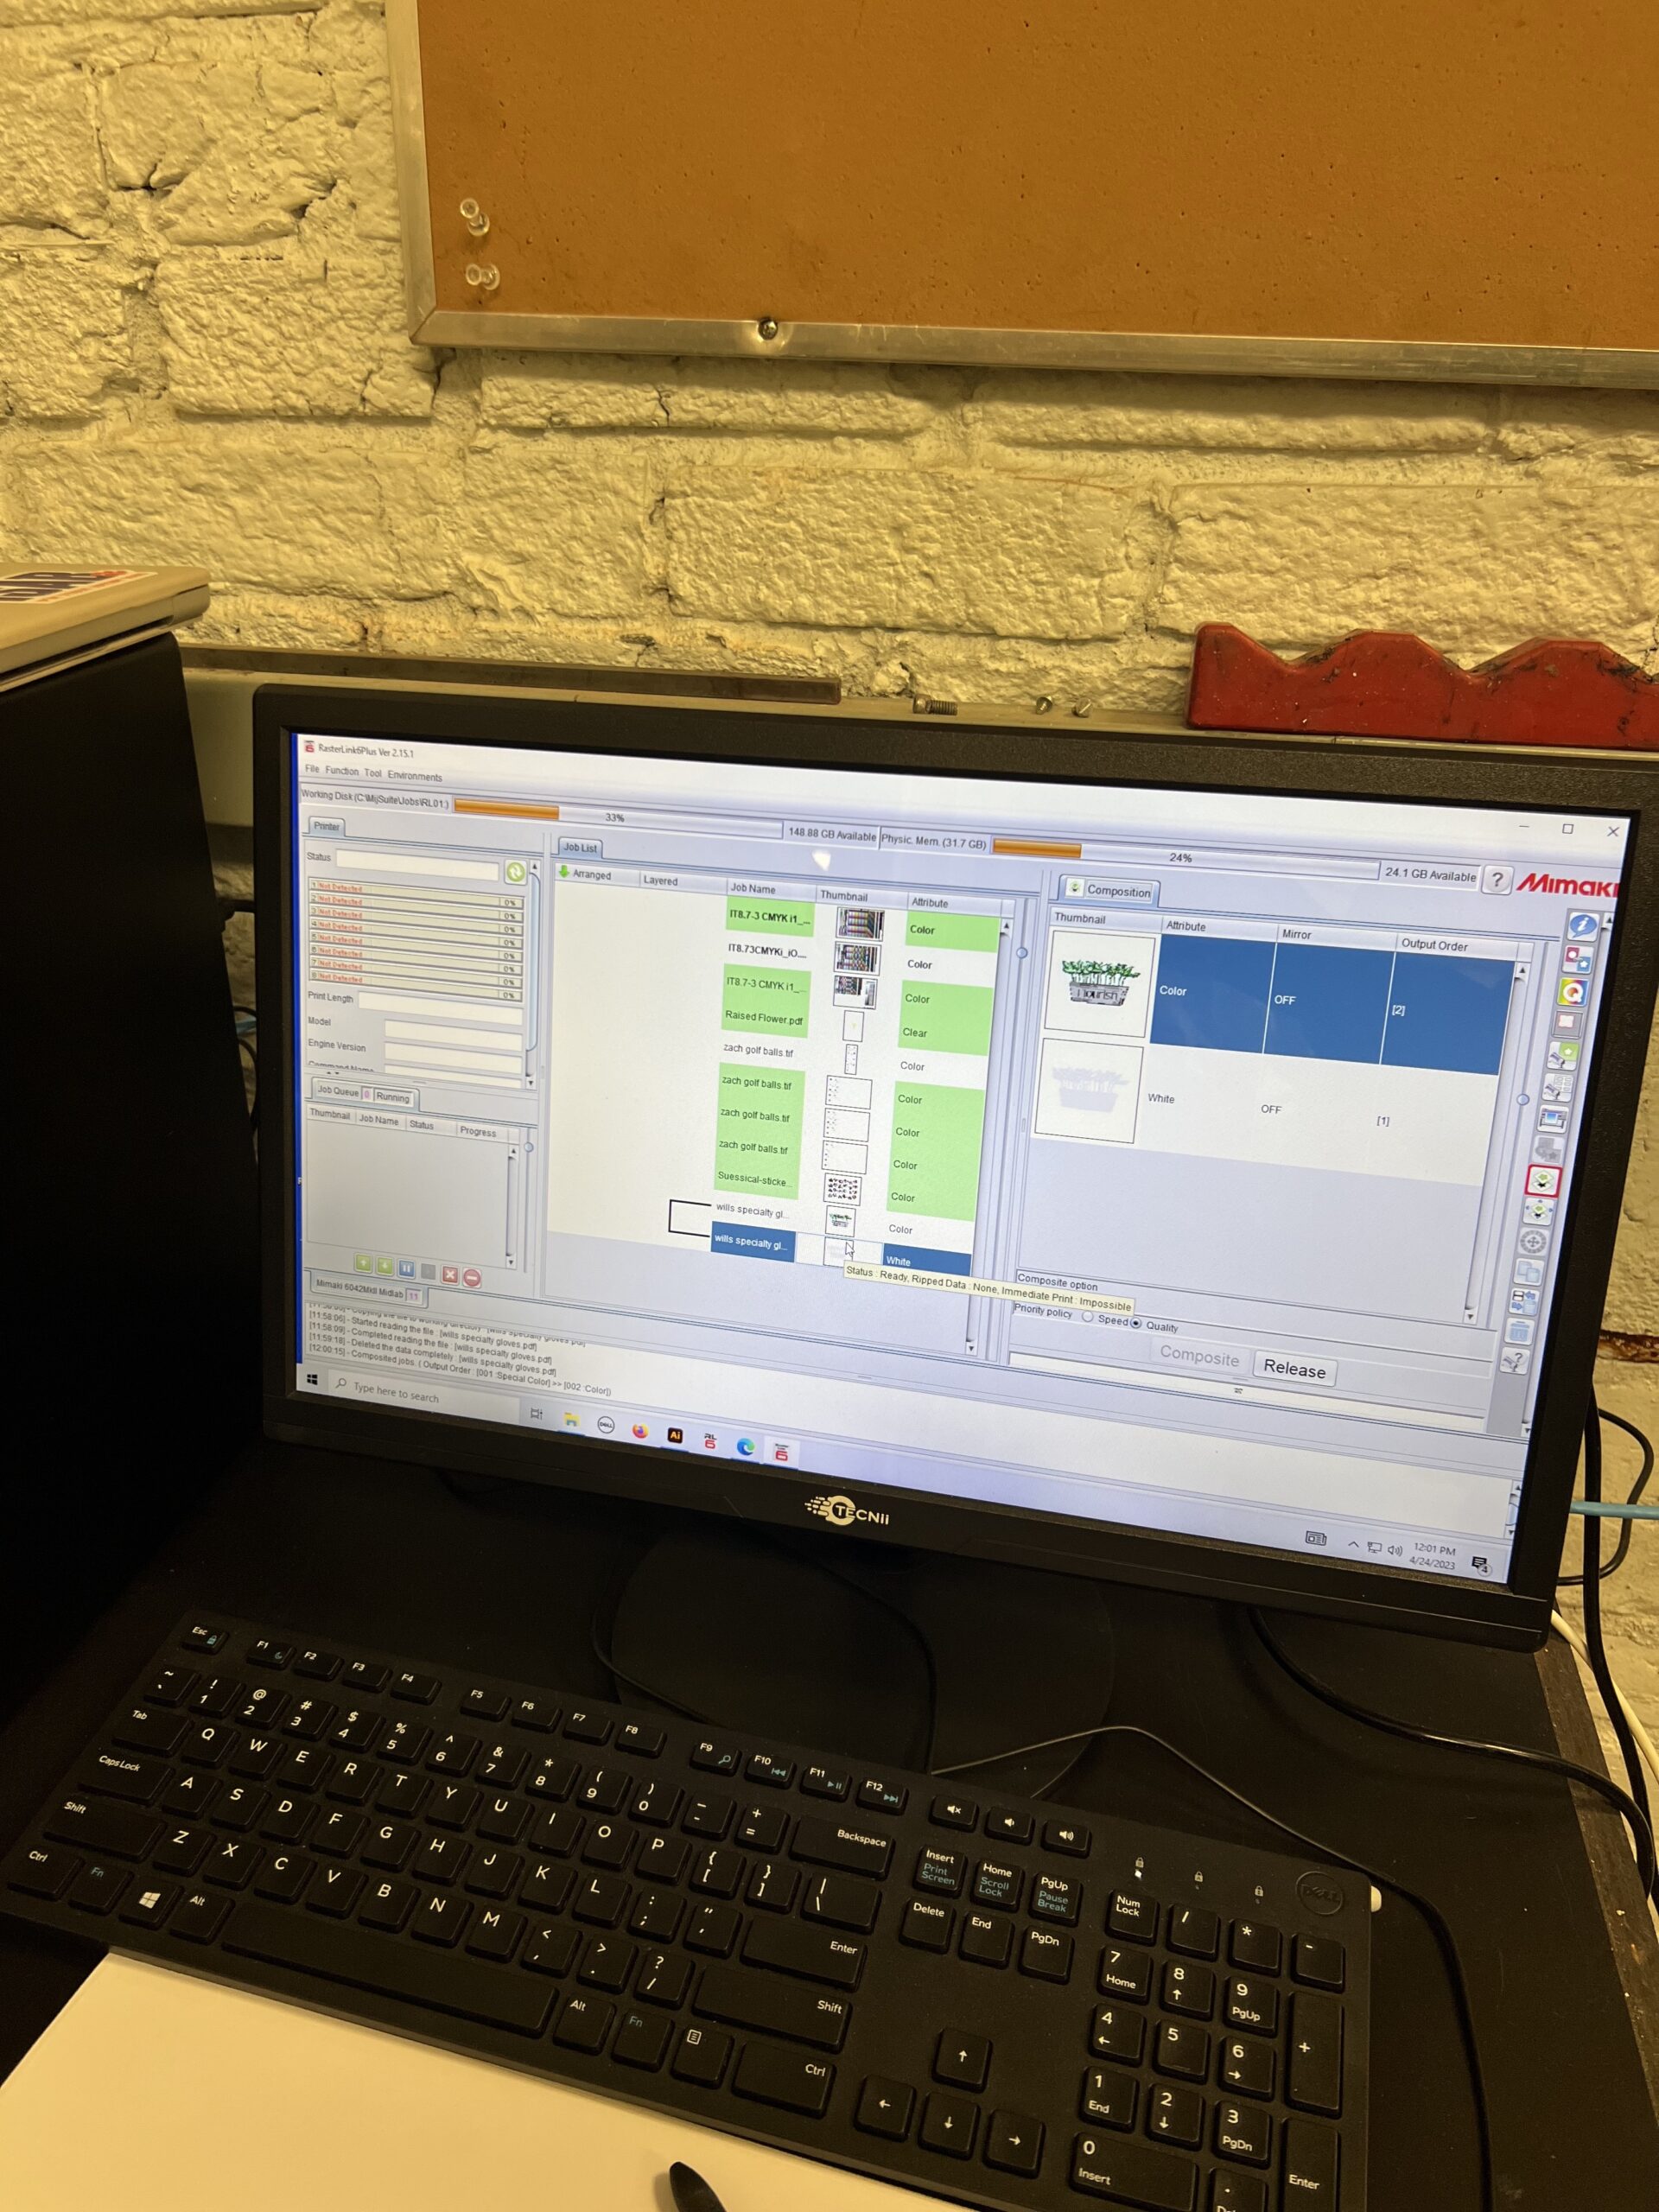
Next, I opened the Illustrator file on the lab computer and brought it into Raster Link which is a printing application we often use in lab to prep files before sending them to print. I sent a PDF version of my Illustrator file to Raster Link and then added a white layer under the actual logo. This extra layer is known as a “special plate” and is used to make the actual logo colors stand out more when printed on colorful fabrics.
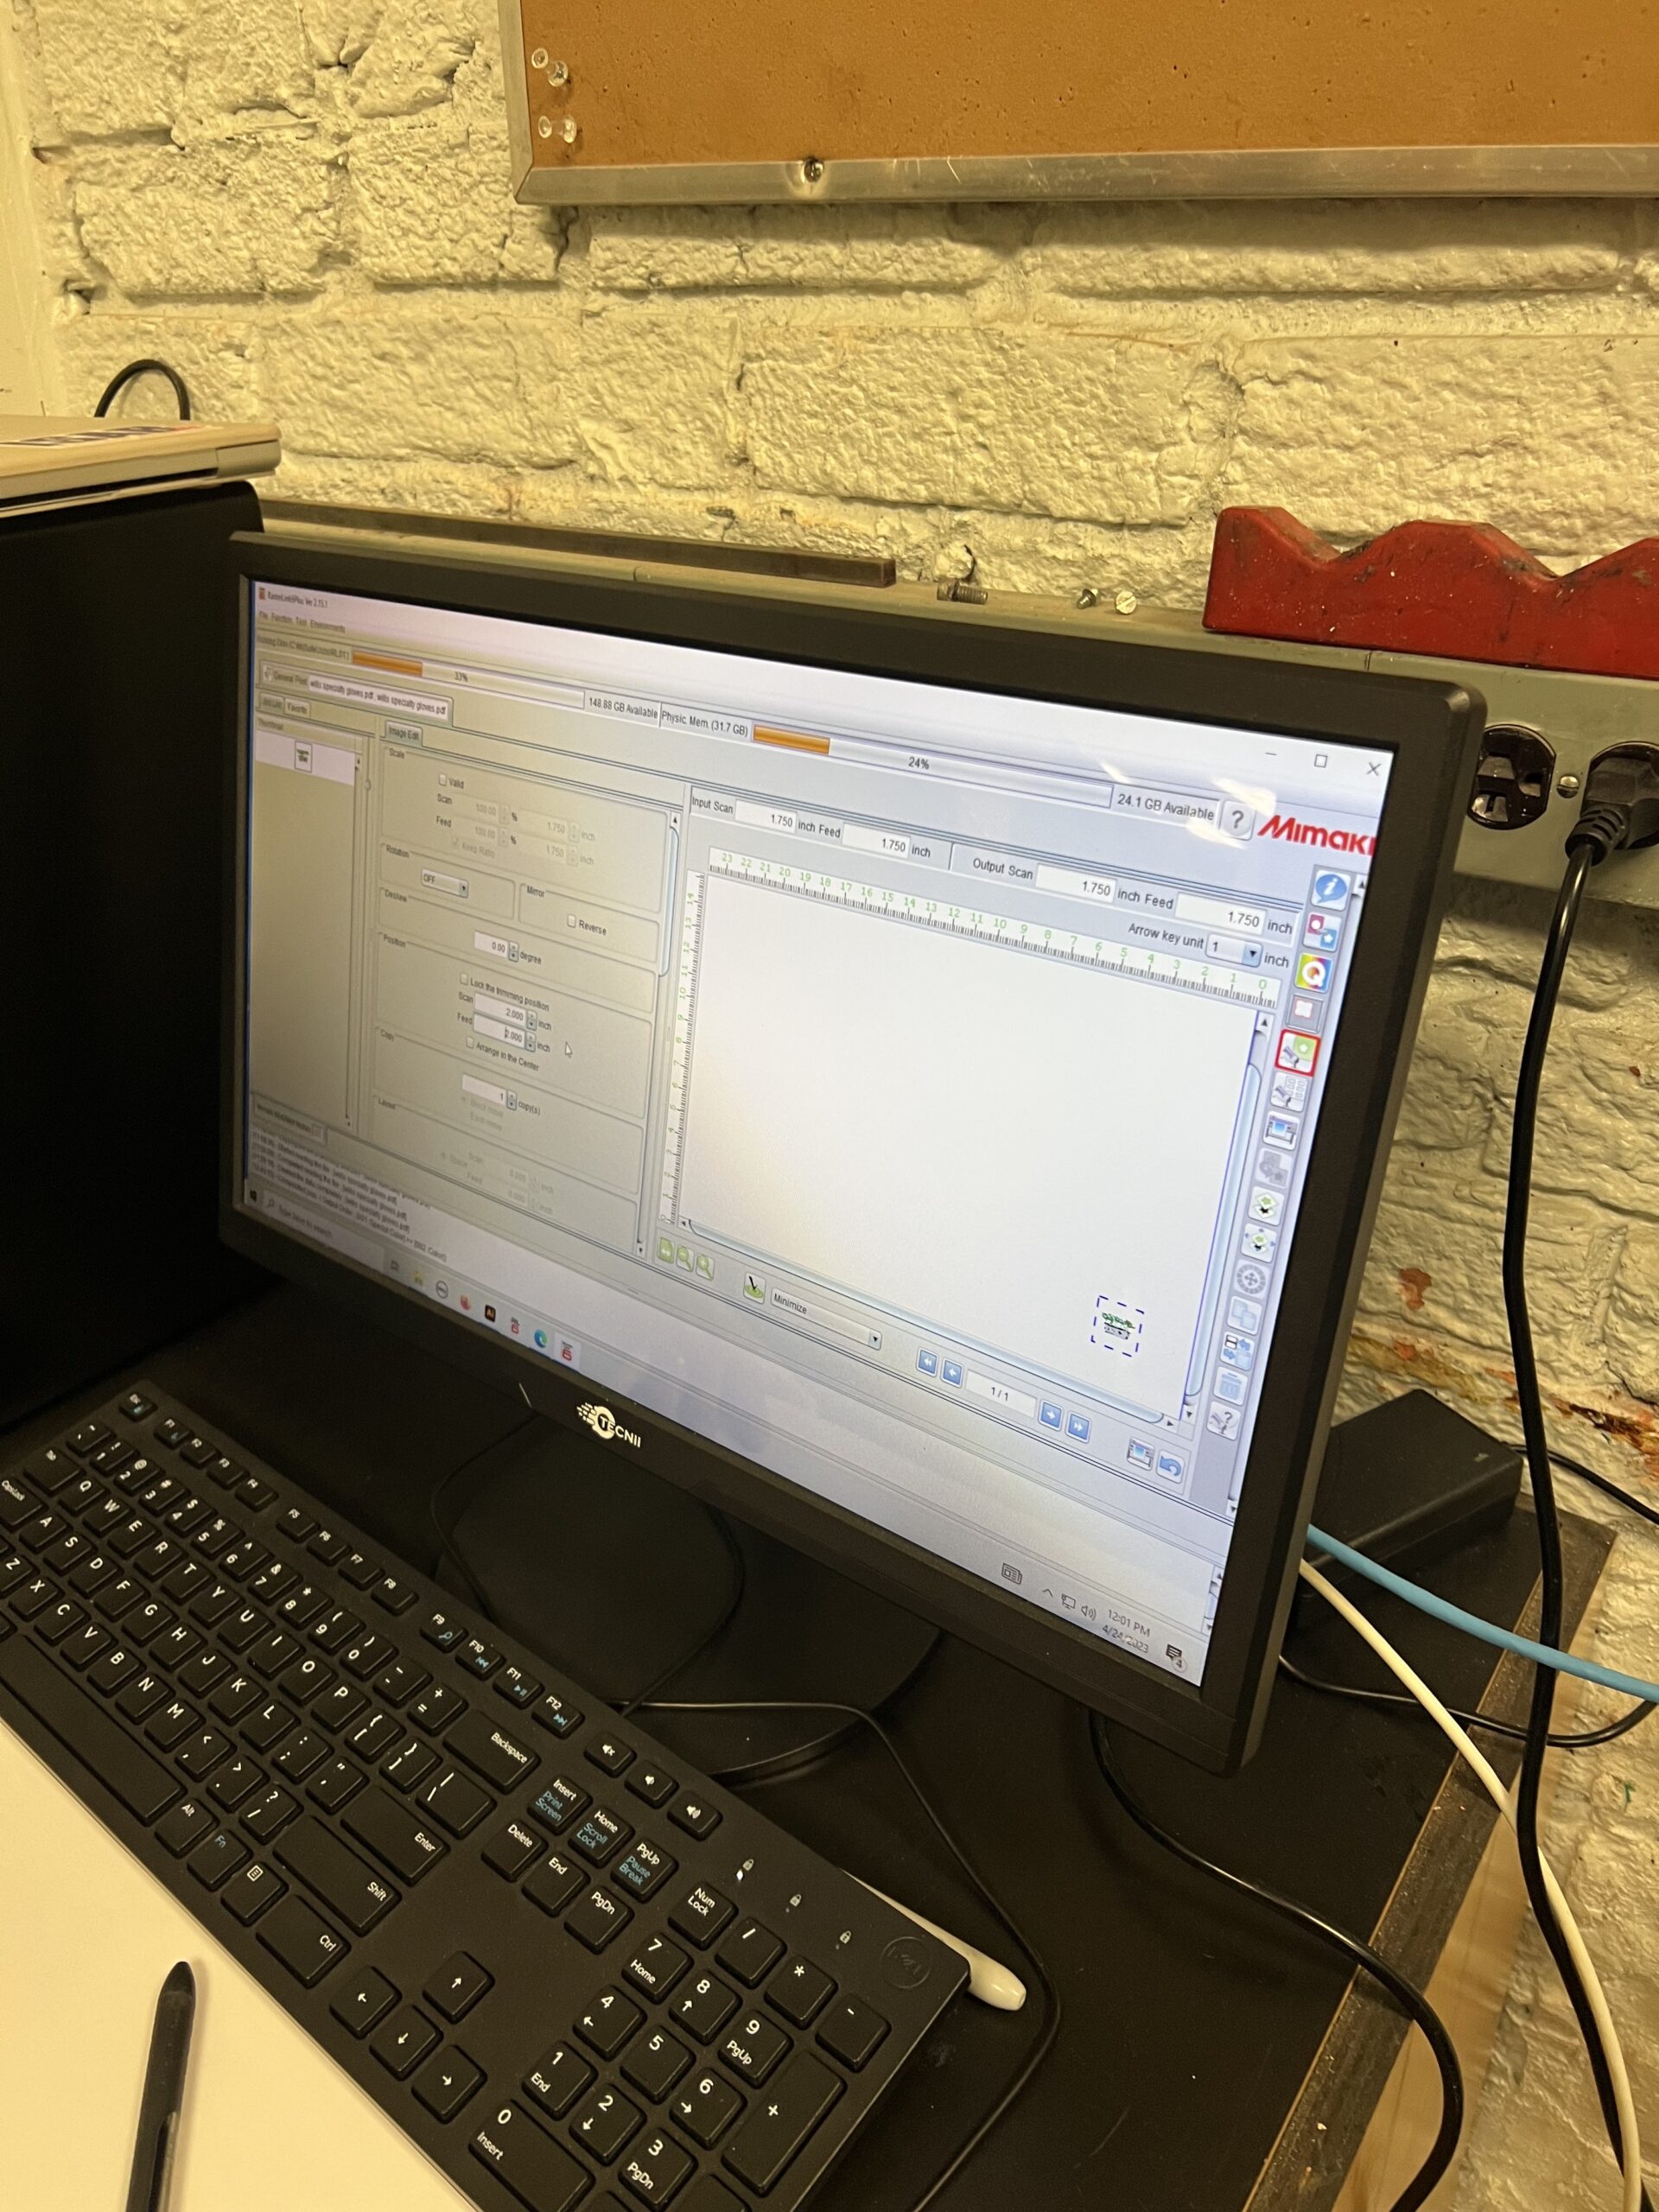
Once the color layer as well as the white layer were both correctly uploaded in Raster Link, I arranged the design to the bottom right corner of the printing area in order to do the test print which would just be on paper. The test print will serve as a representation of the actual size and placement of the design. This will allow me to be able to change its size if needed and to line it up with the glove once it is time.
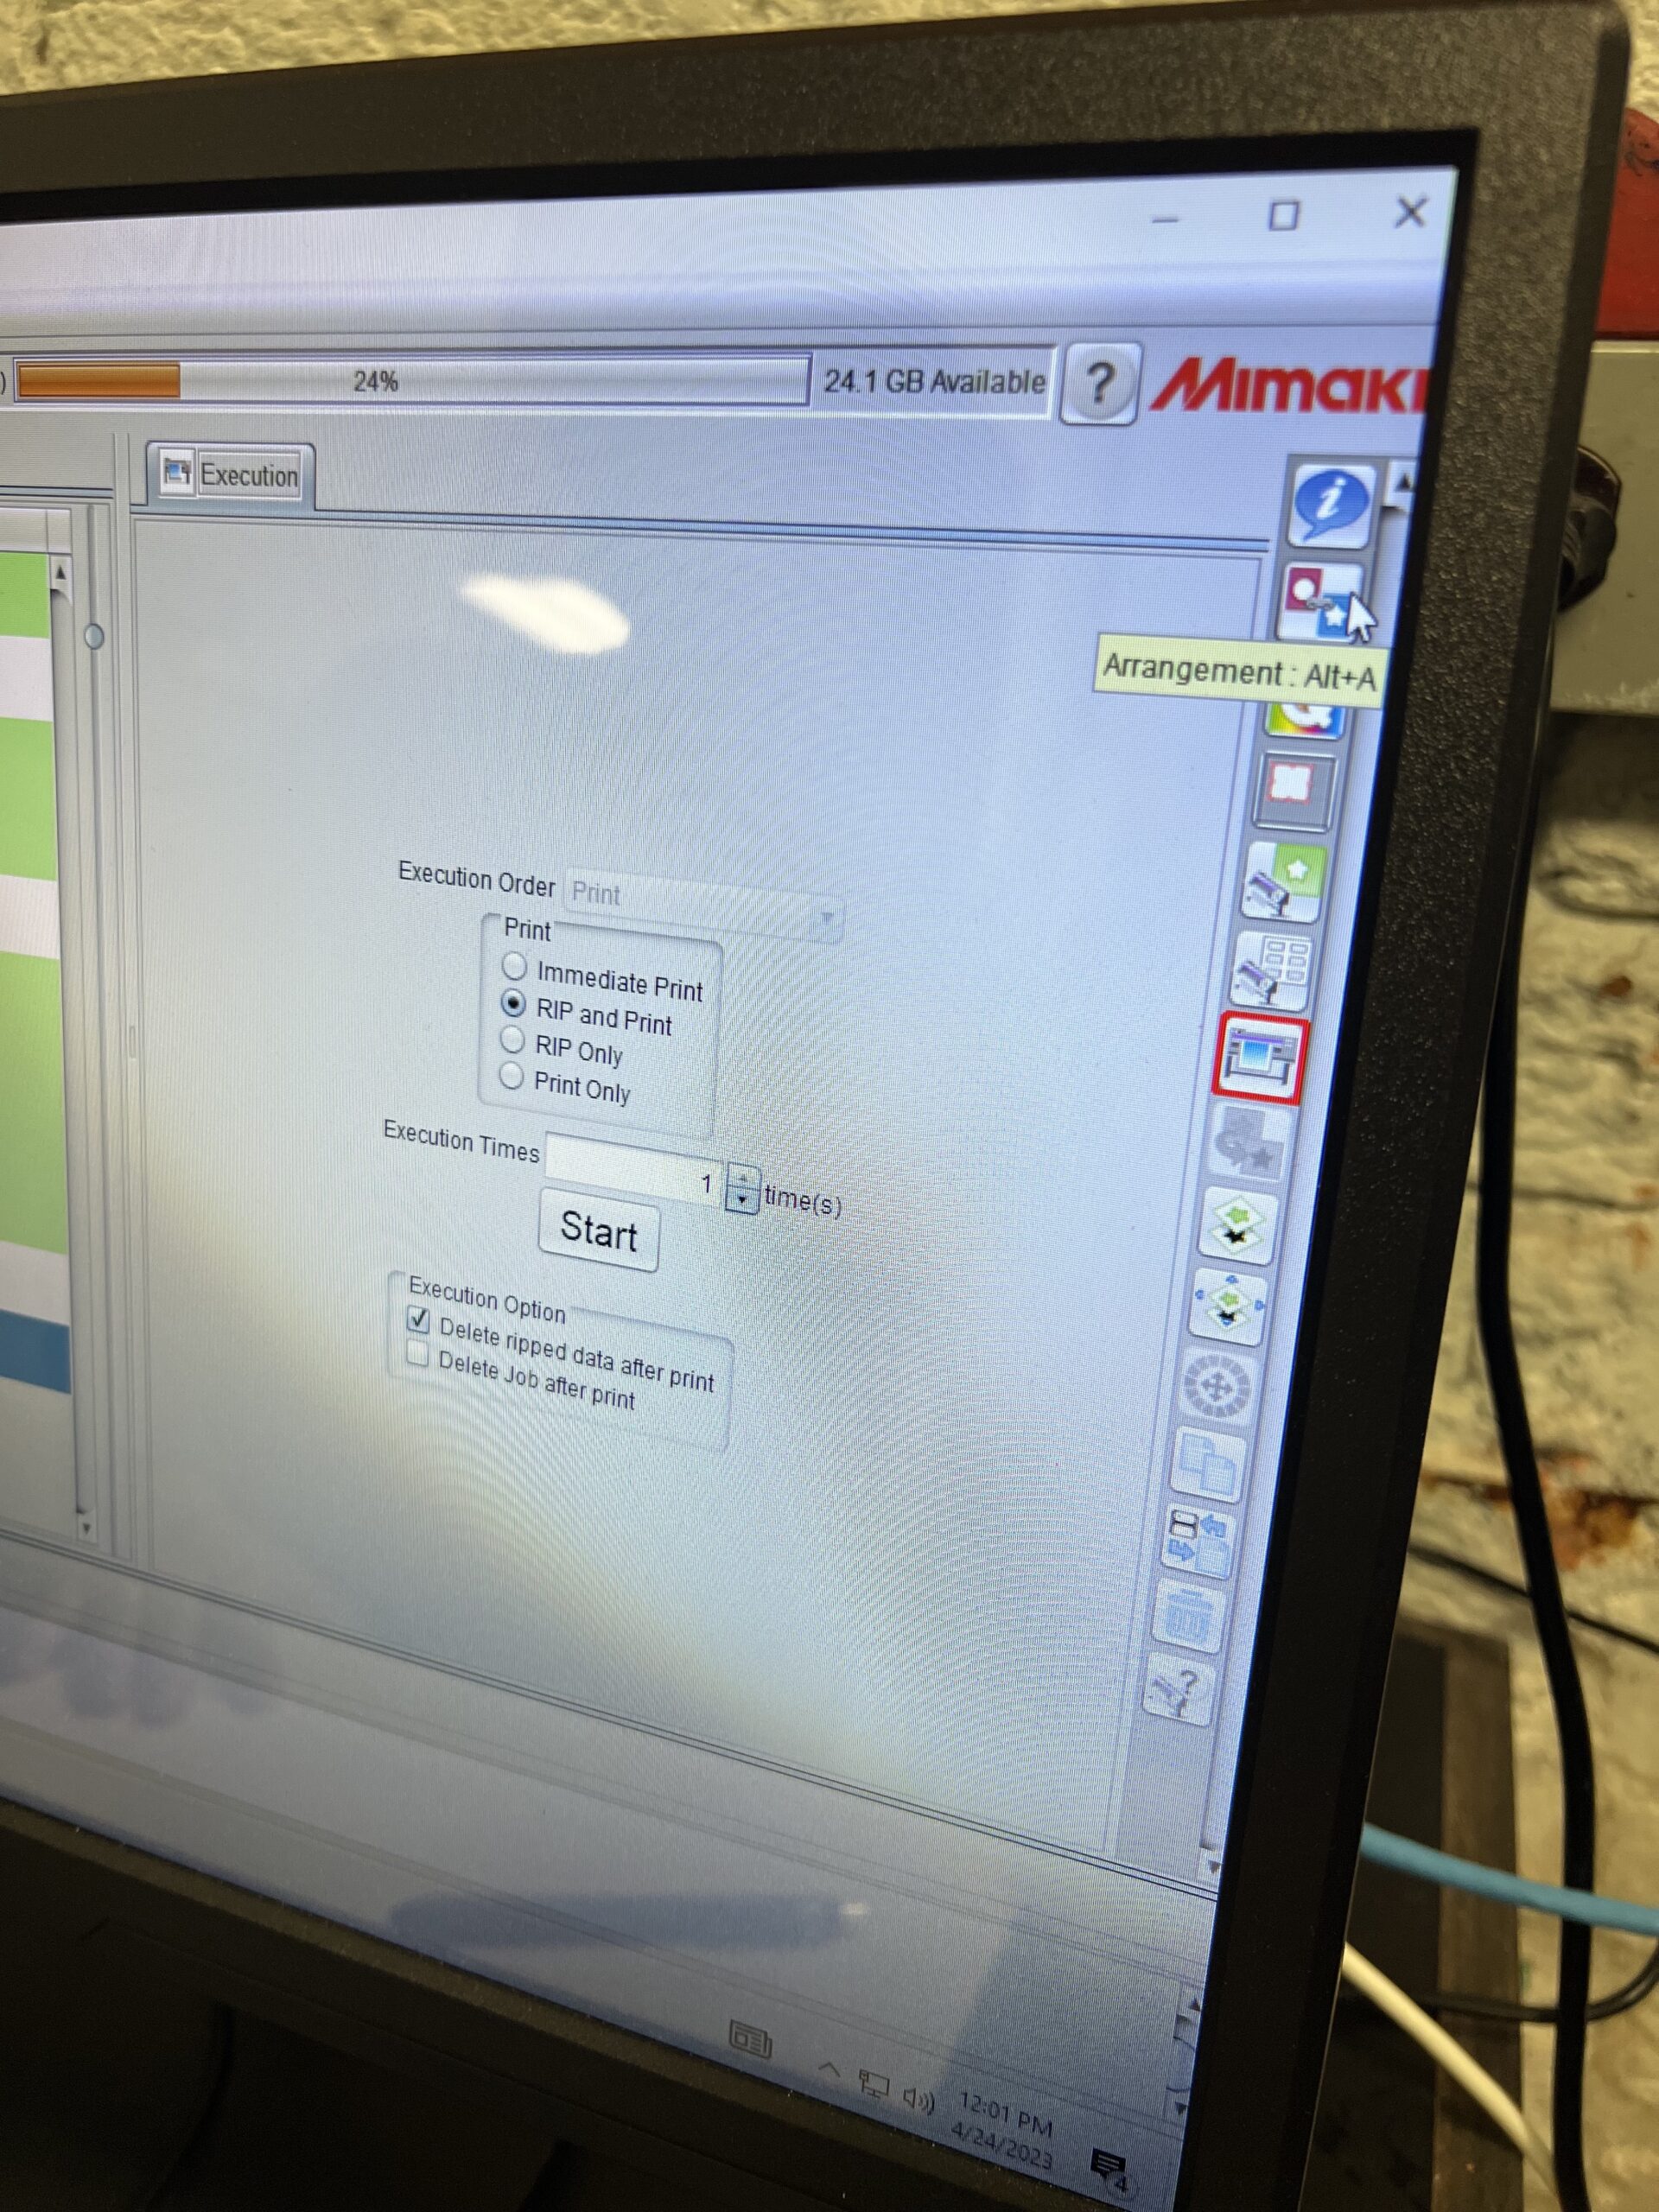
With this specific printer it is important to measure the substrate you are printing onto. The first measurement I took was of the paper that I was using to complete a test print on. The paper I was using was 0.1 mm and I put that measurement into the printer as the head height. The head height of the is basically how close the substrate will come to the printer. After the measurement was taken and the head height was adjusted, it was time to hit Rip and Print on the computer to tell the printer to print. The printer takes a moment to adjust to the head height and then begins laying down the white layer of ink followed by the colored second layer of ink.
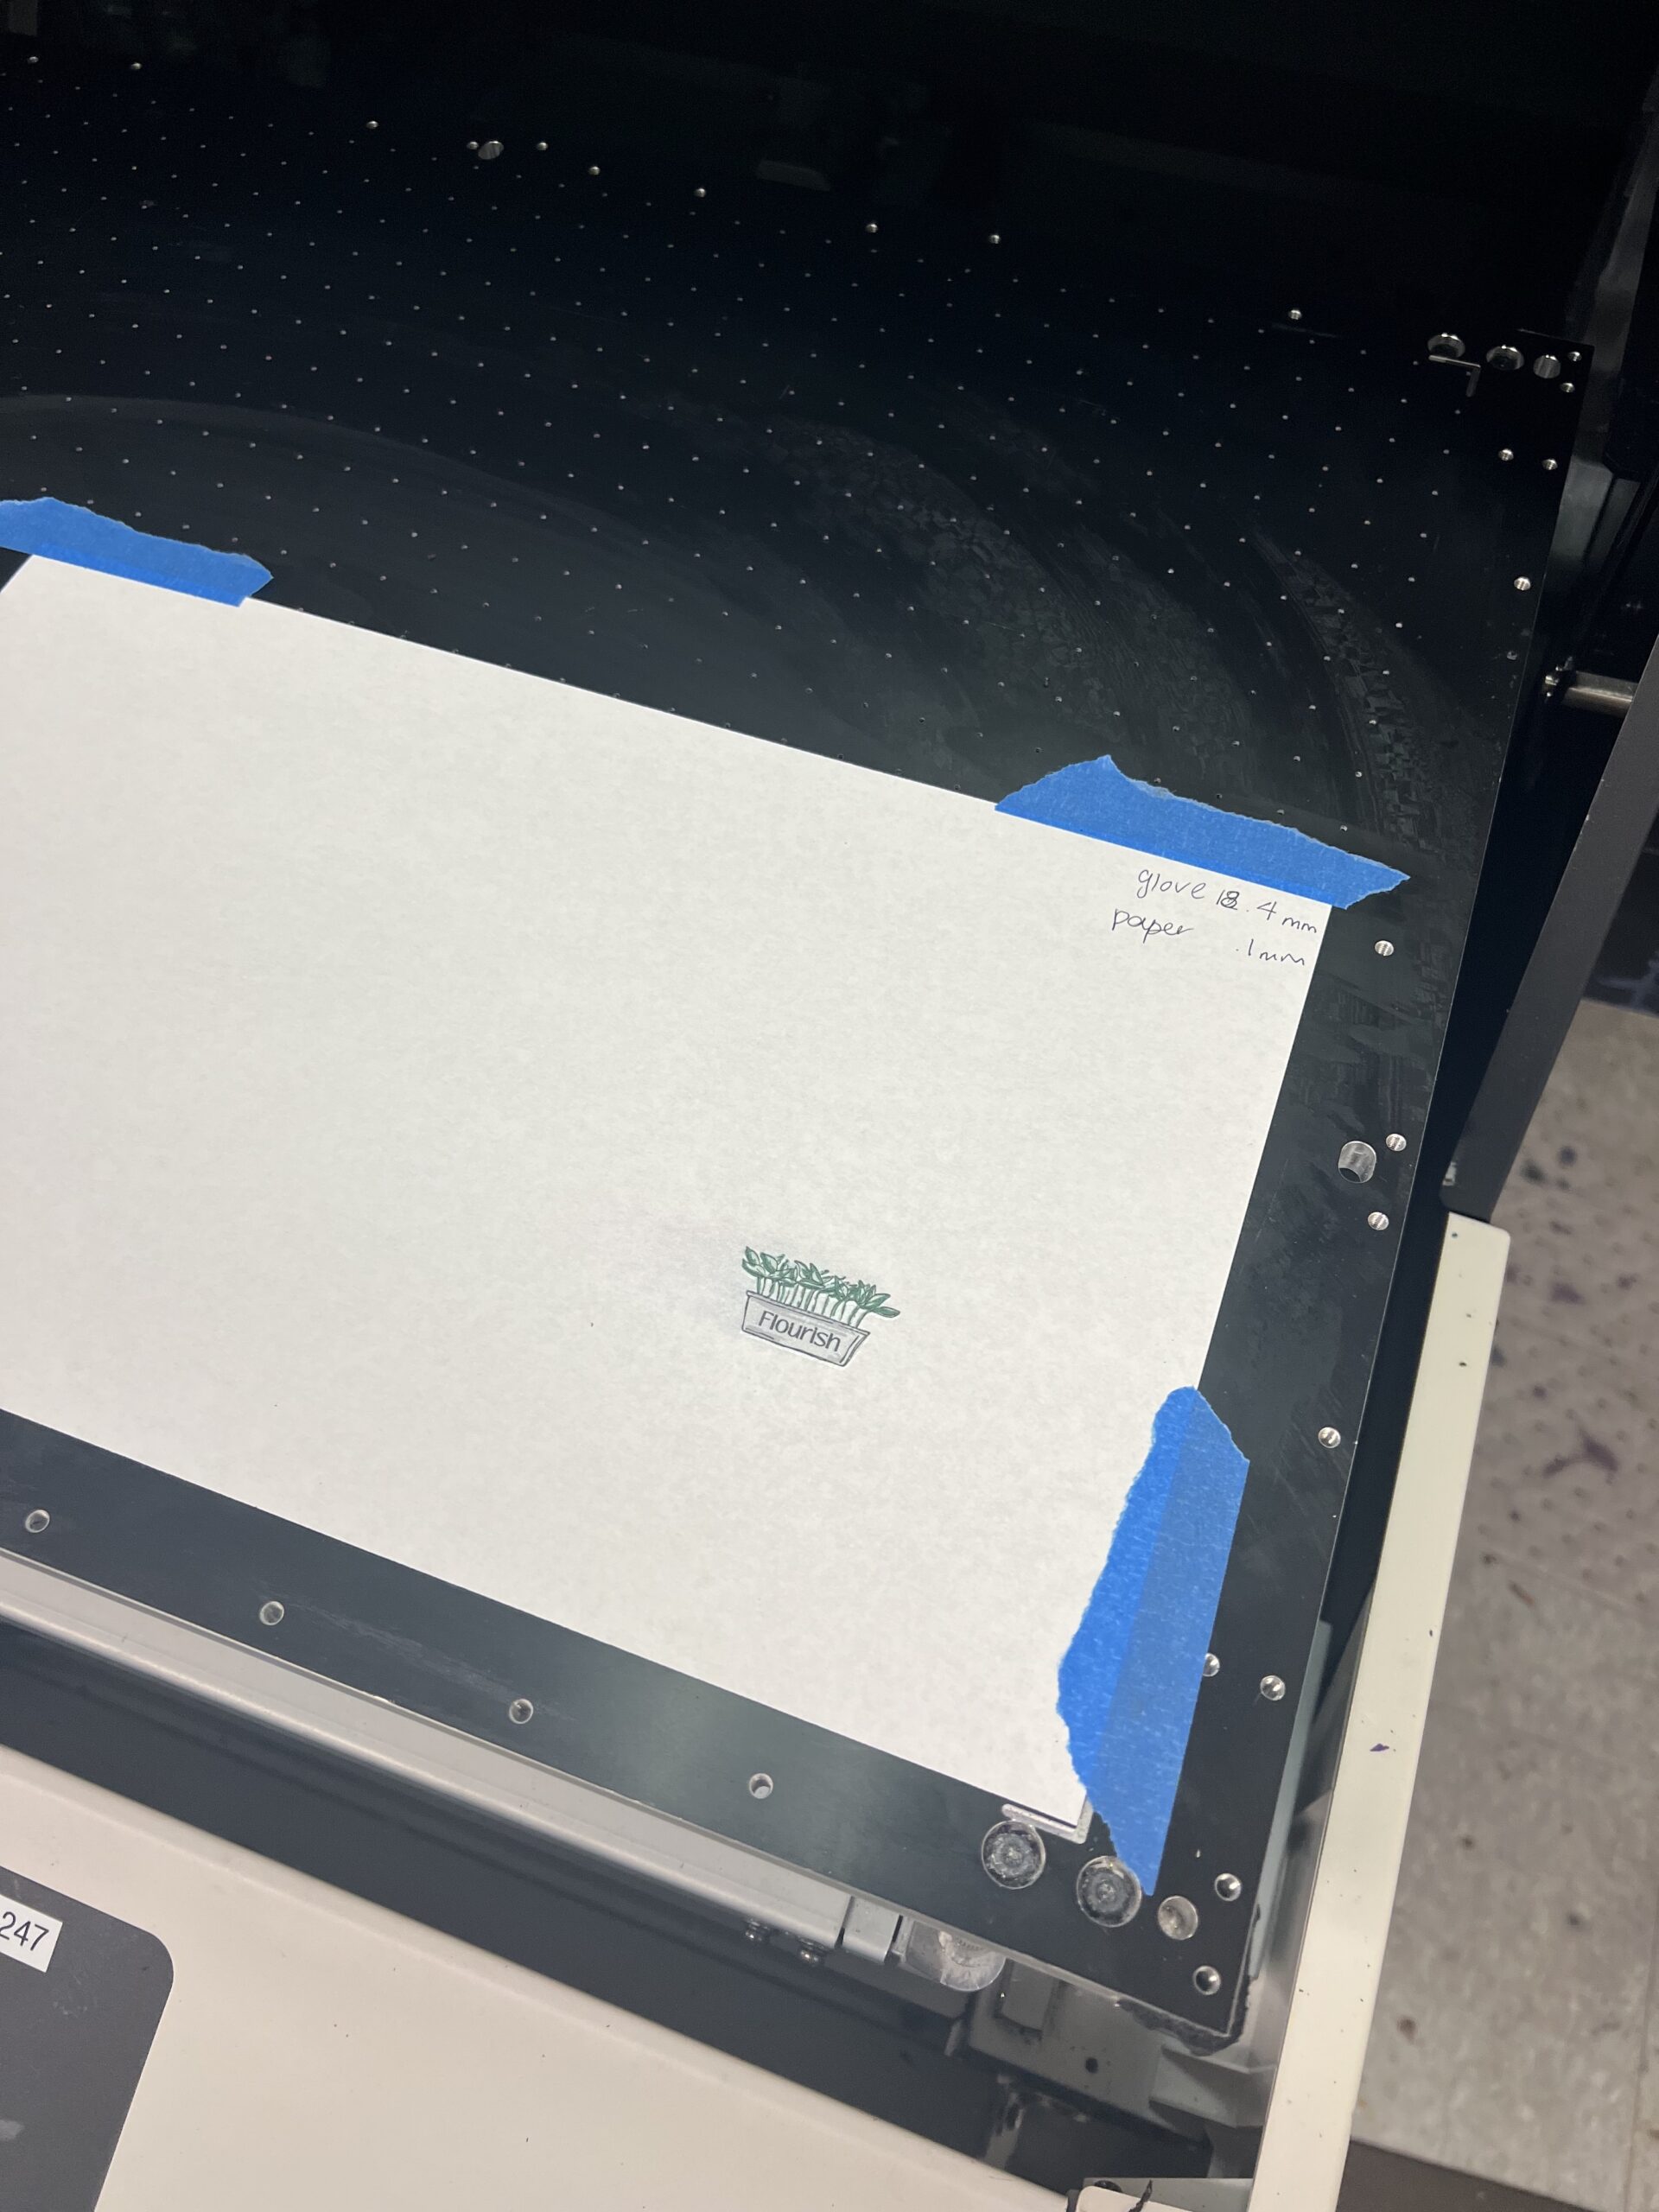
The paper test sheet that I printed on went well, it showed me that the size of the logo needed to be increased so it would fill up the glove area. I was able to alter the size of the logo in Raster Link and then I printed it once more onto the white paper. I printed this again on a test sheet in order to get an idea of where I would need to line up the glove. The second test run was perfectly sized which meant I was ready to print on the actual gloves next.
I had to measure the glove to see how thick it would be when printing. I also added a small box inside the glove in the palm to lift up the area I wanted to print on so the machine would have an easier time printing. After the small box was in the glove I measured it to be 18.5 mm. I changed the head height of the printer to be the correct height.
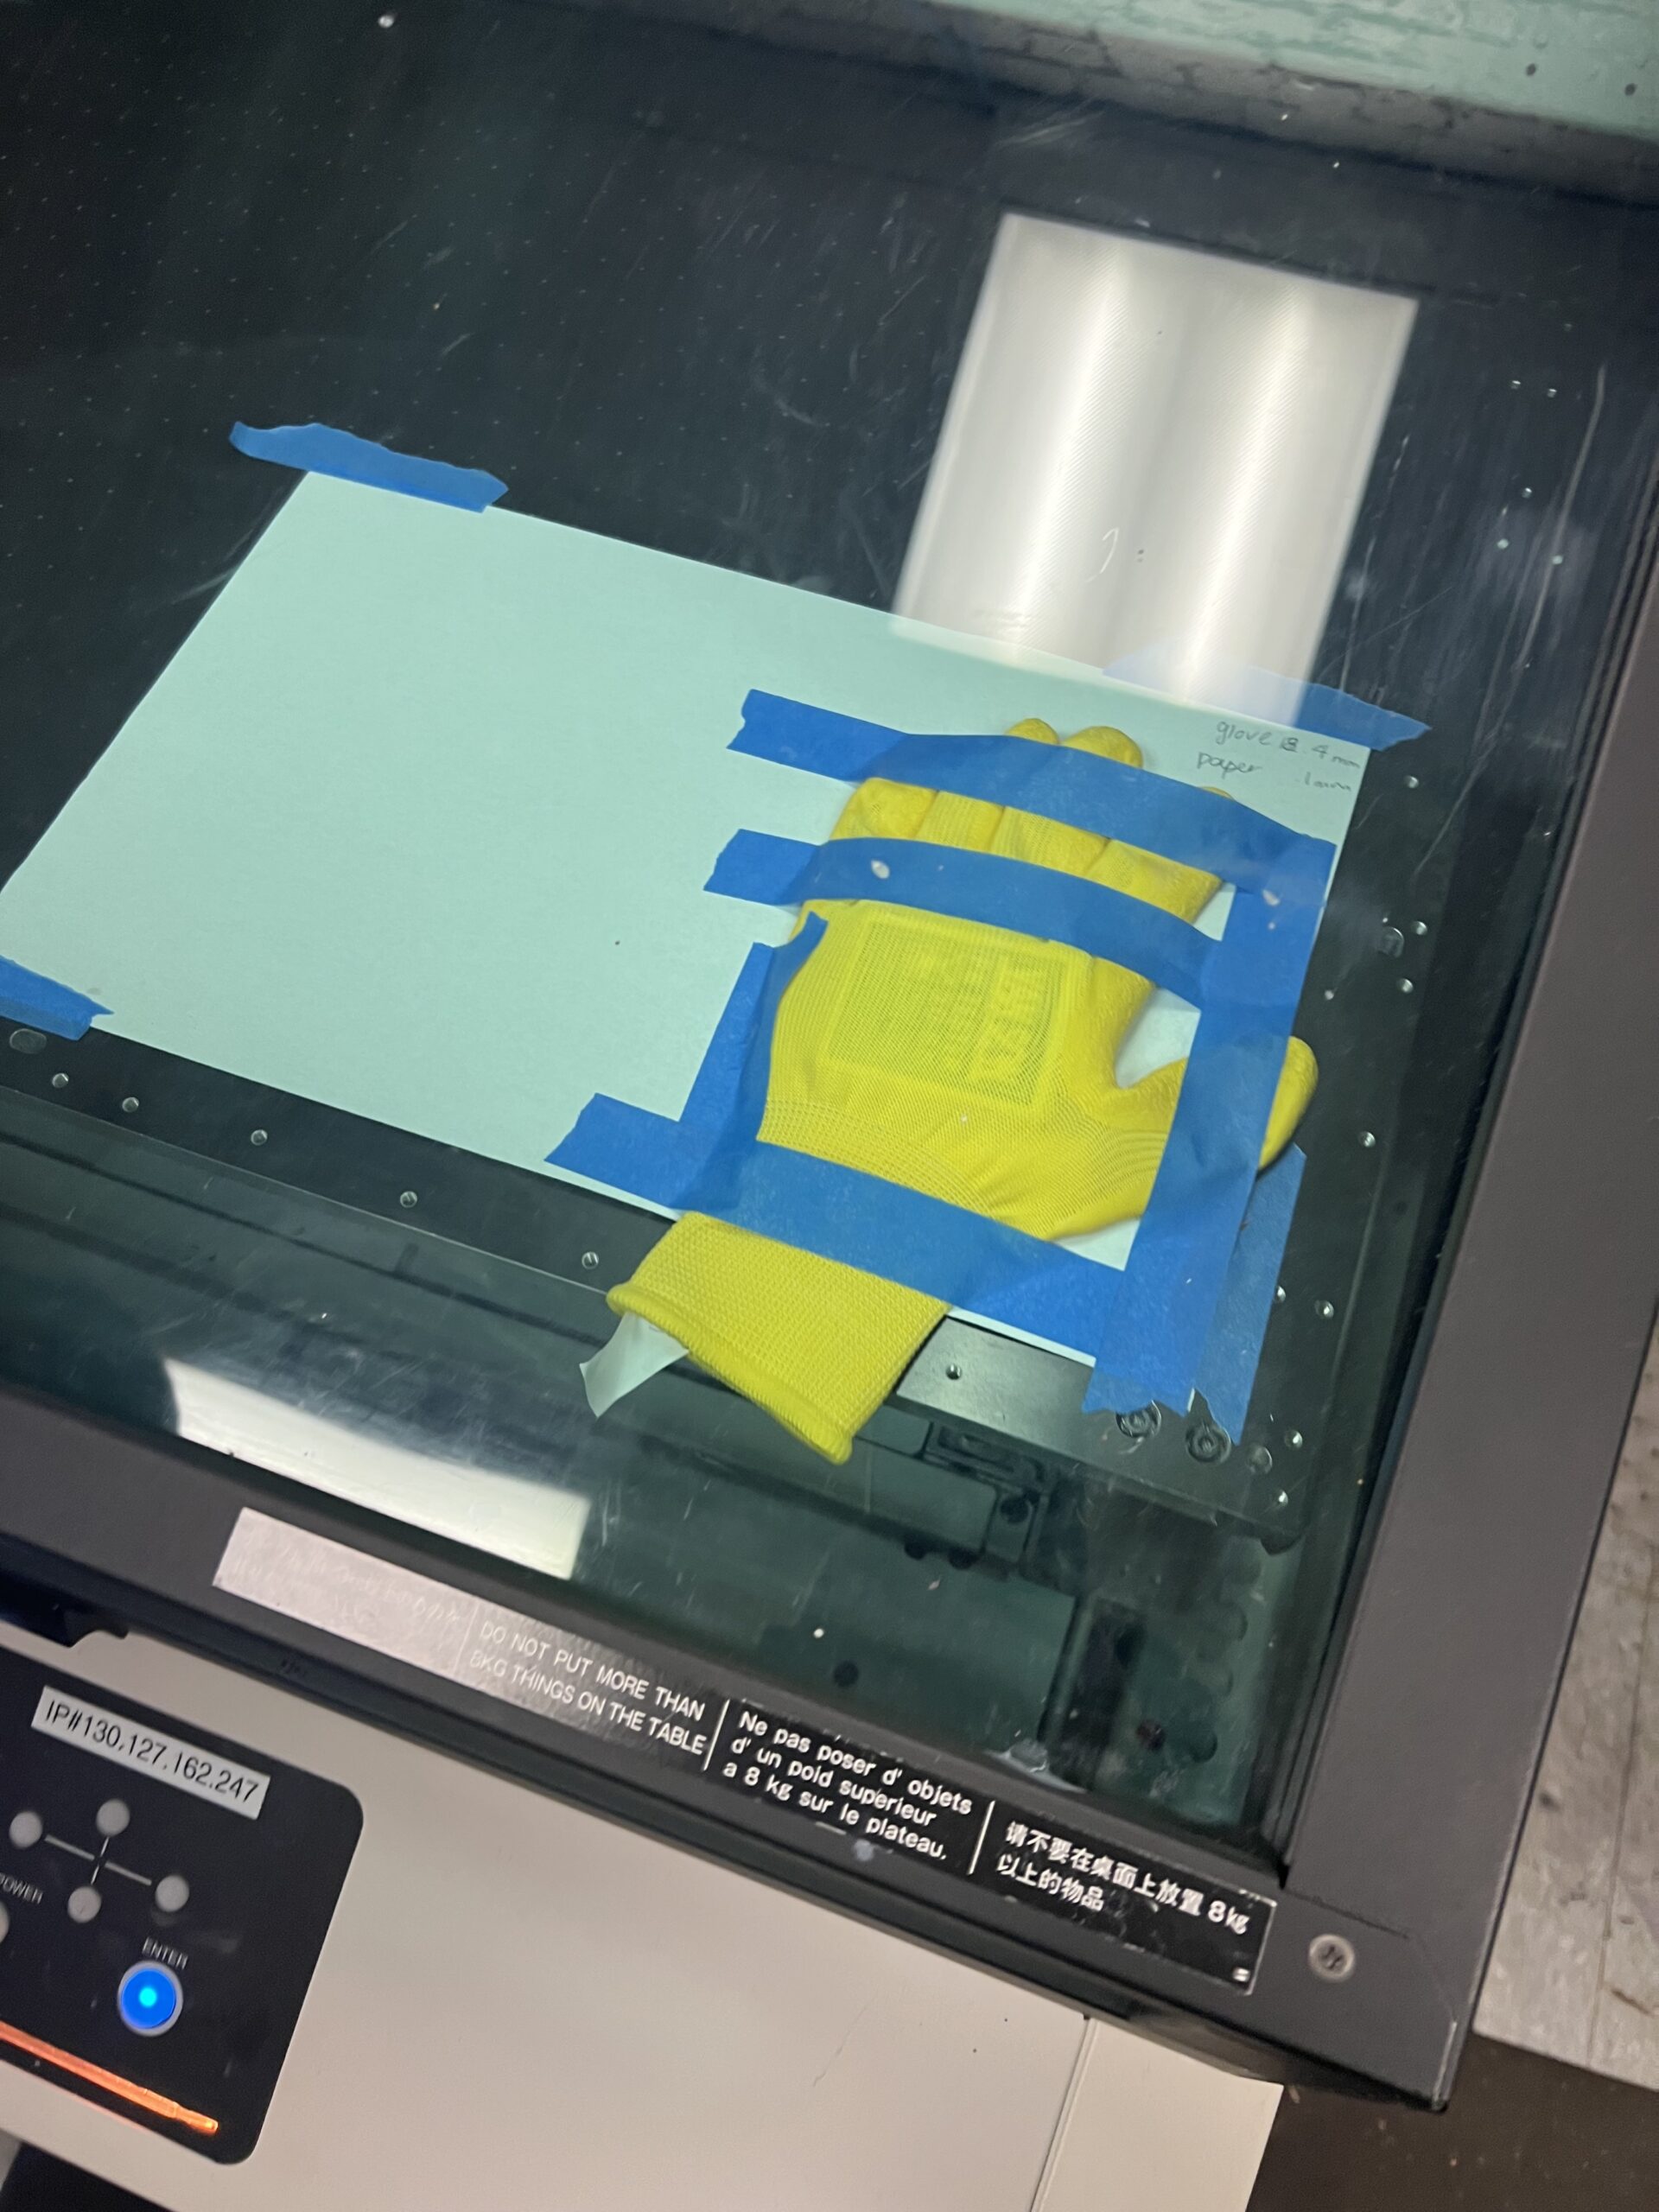
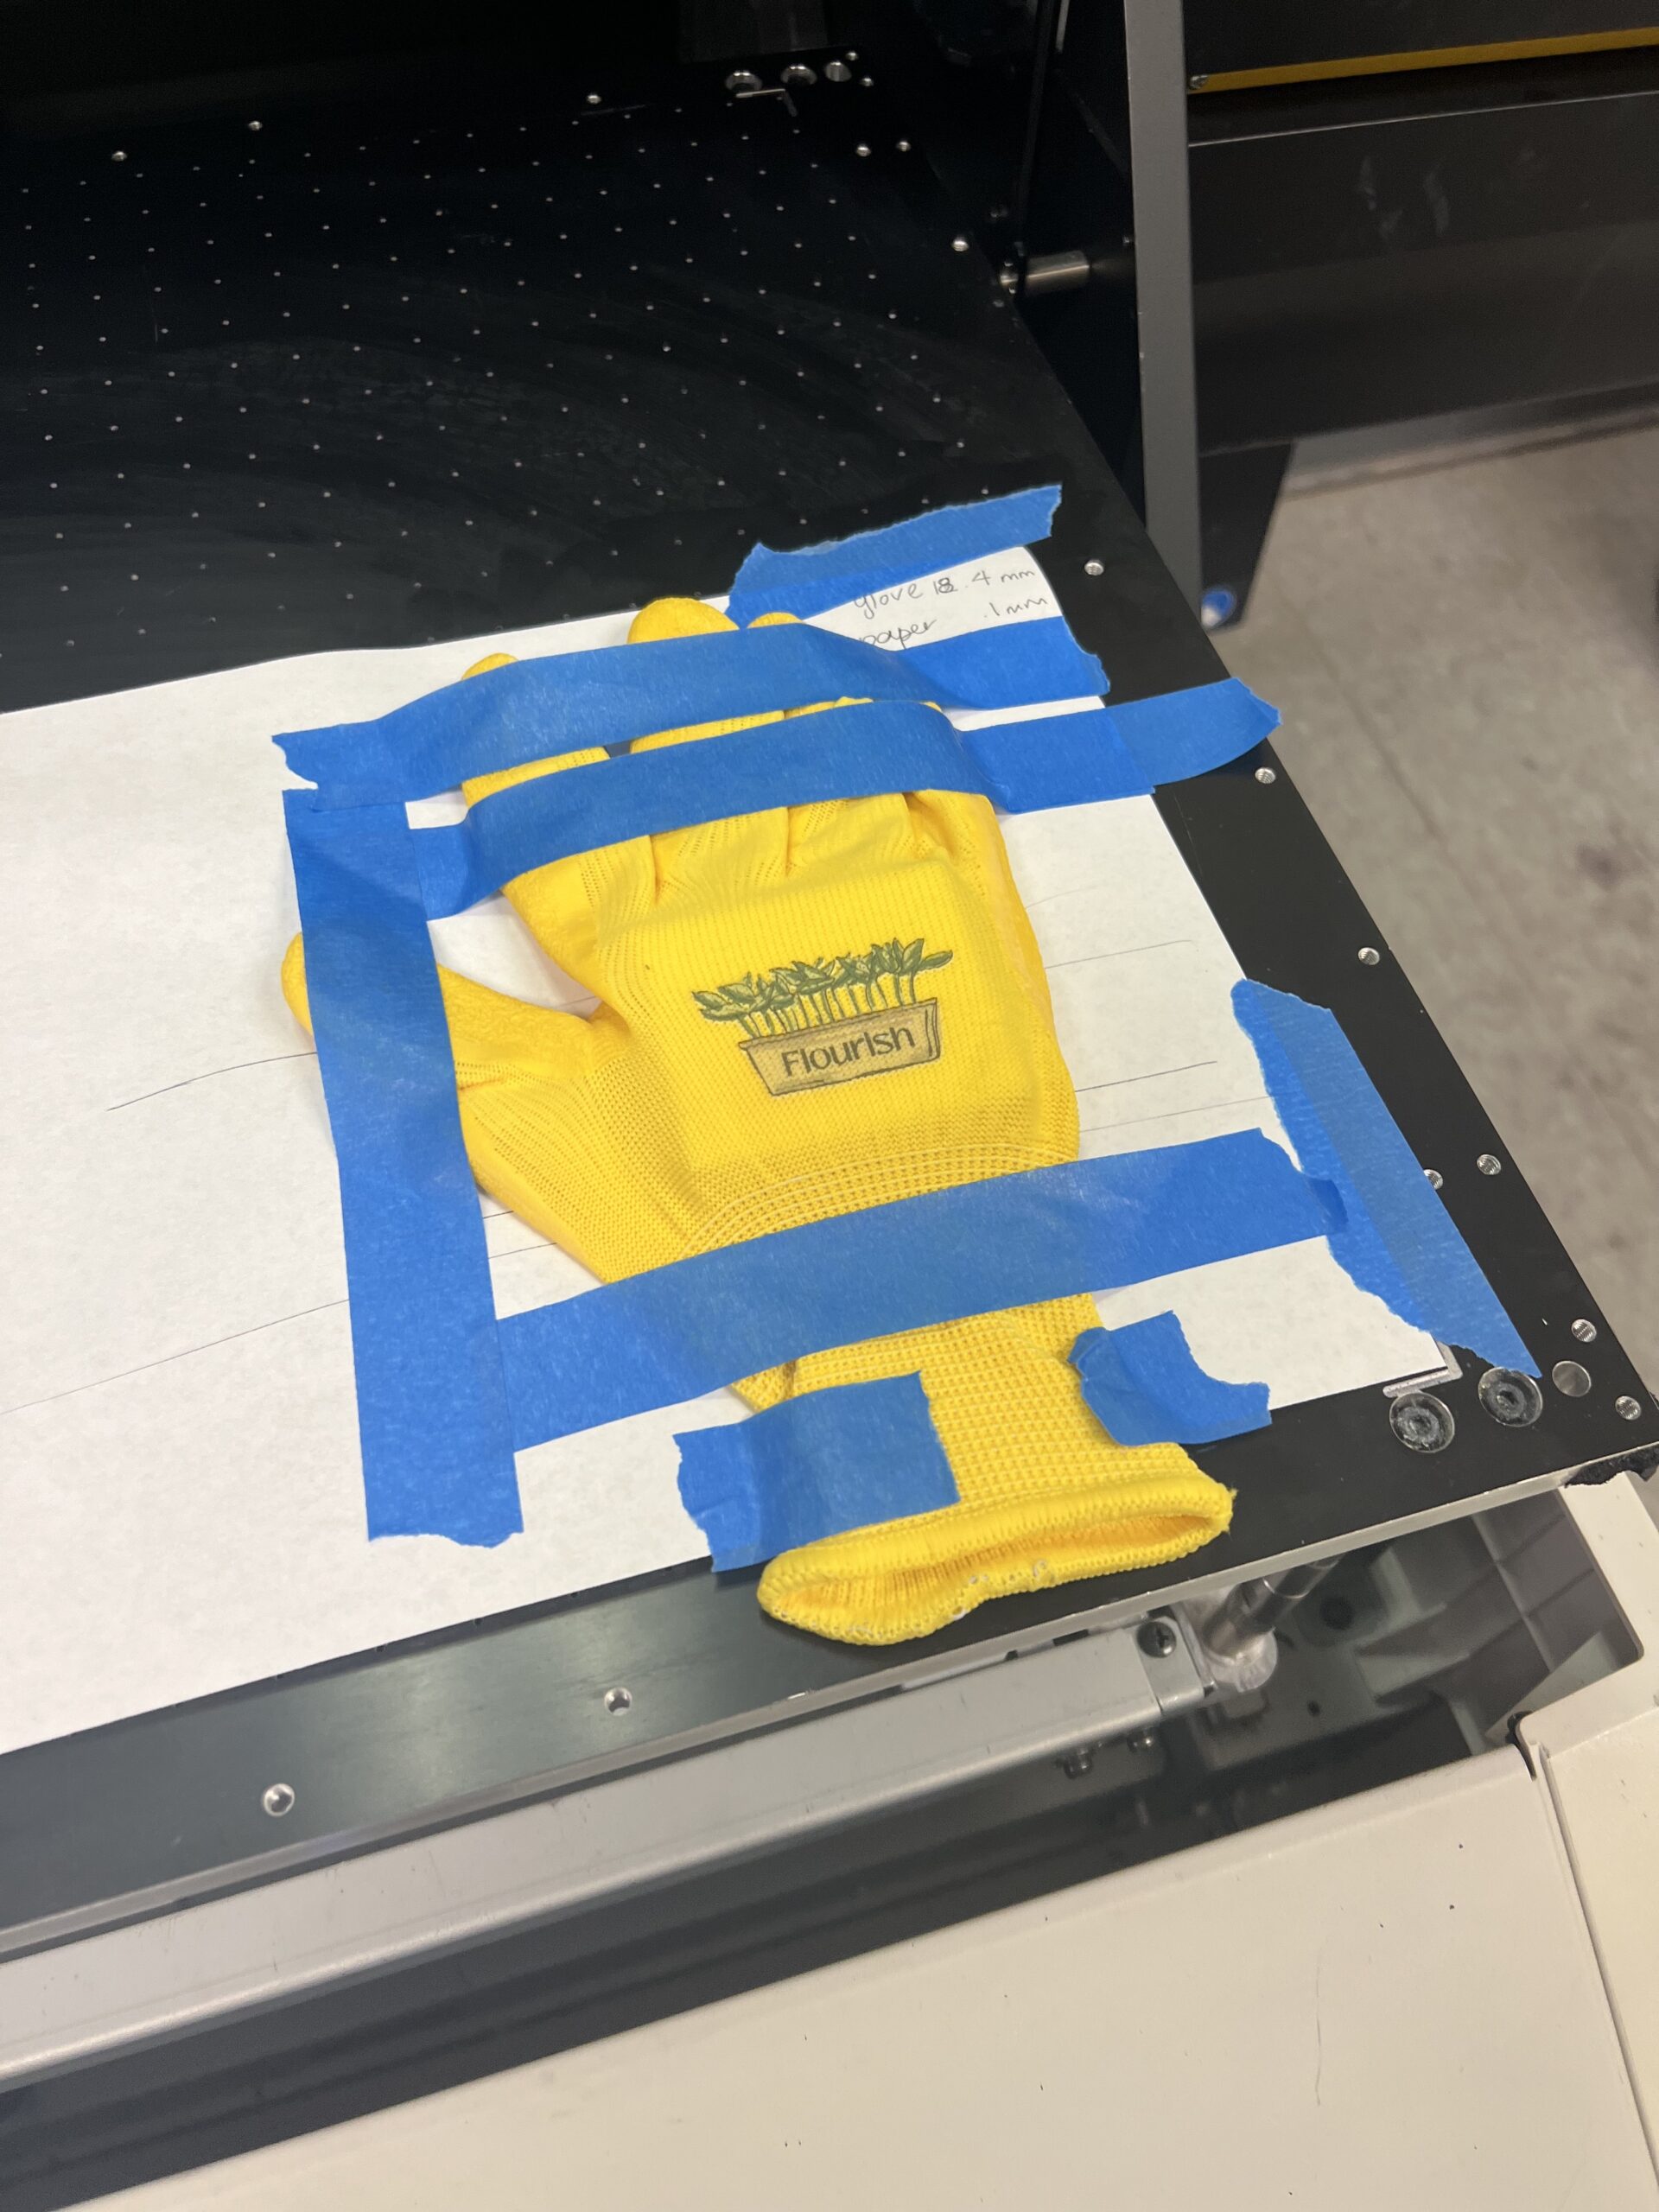
After the head height was changed, it was time to print. I used the test sheet of white paper still taped down to the printer as a guide to line up the glove. What helped me use this to get the most accurate placement was to draw lines coming from each side of the logo since I couldn’t see through the glove to line things up. I used the lines that were longer than the gloves to blindly line up the design to the best of my ability. After that, I taped down the gloves with masking tape and hit Rip and Print! I repeated the taping down and printing process with all of the gloves I wanted to print on and then was finished!
The Final Product
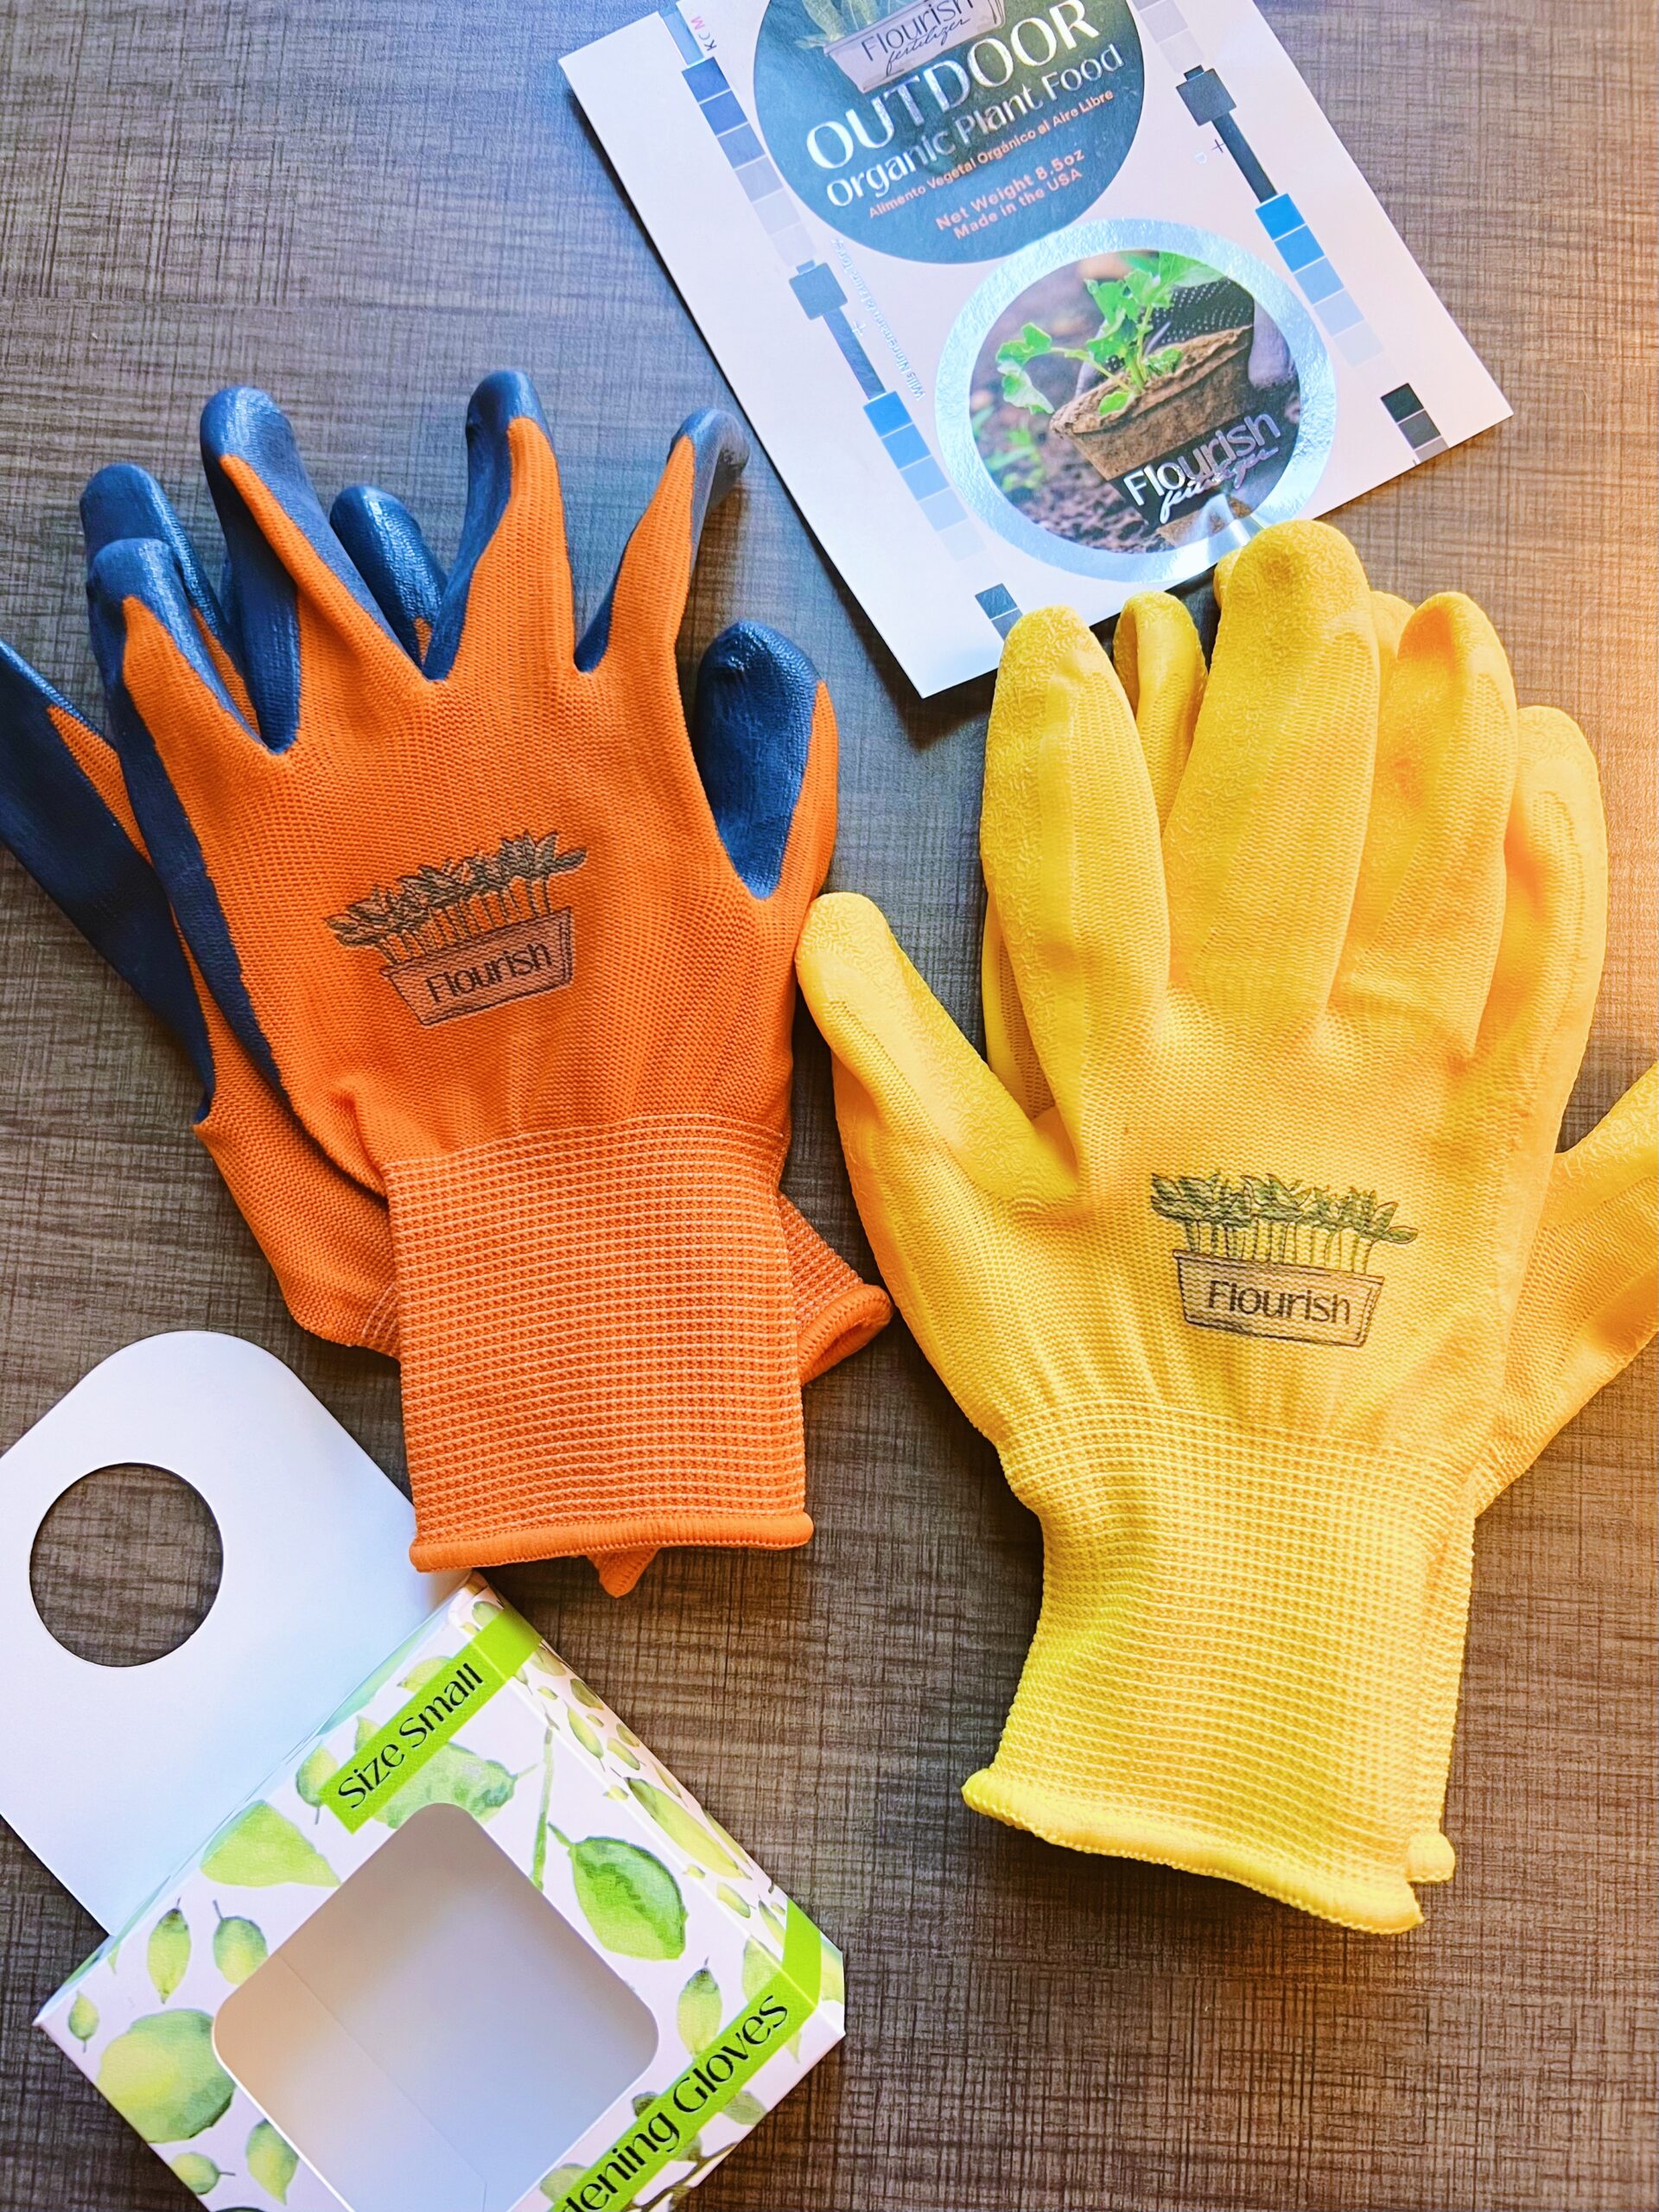
The final printed gloves came out better than I ever expected! The gloves were all vibrant colors and the design was able to shine even on those bright and fun colors. The printed design also didn’t move or crack when I actually put on the gloves which is a great quality. Overall, I think these printed gloves with the brand logo were the perfect addition to my fertilizer brand and bottle on the shelf!
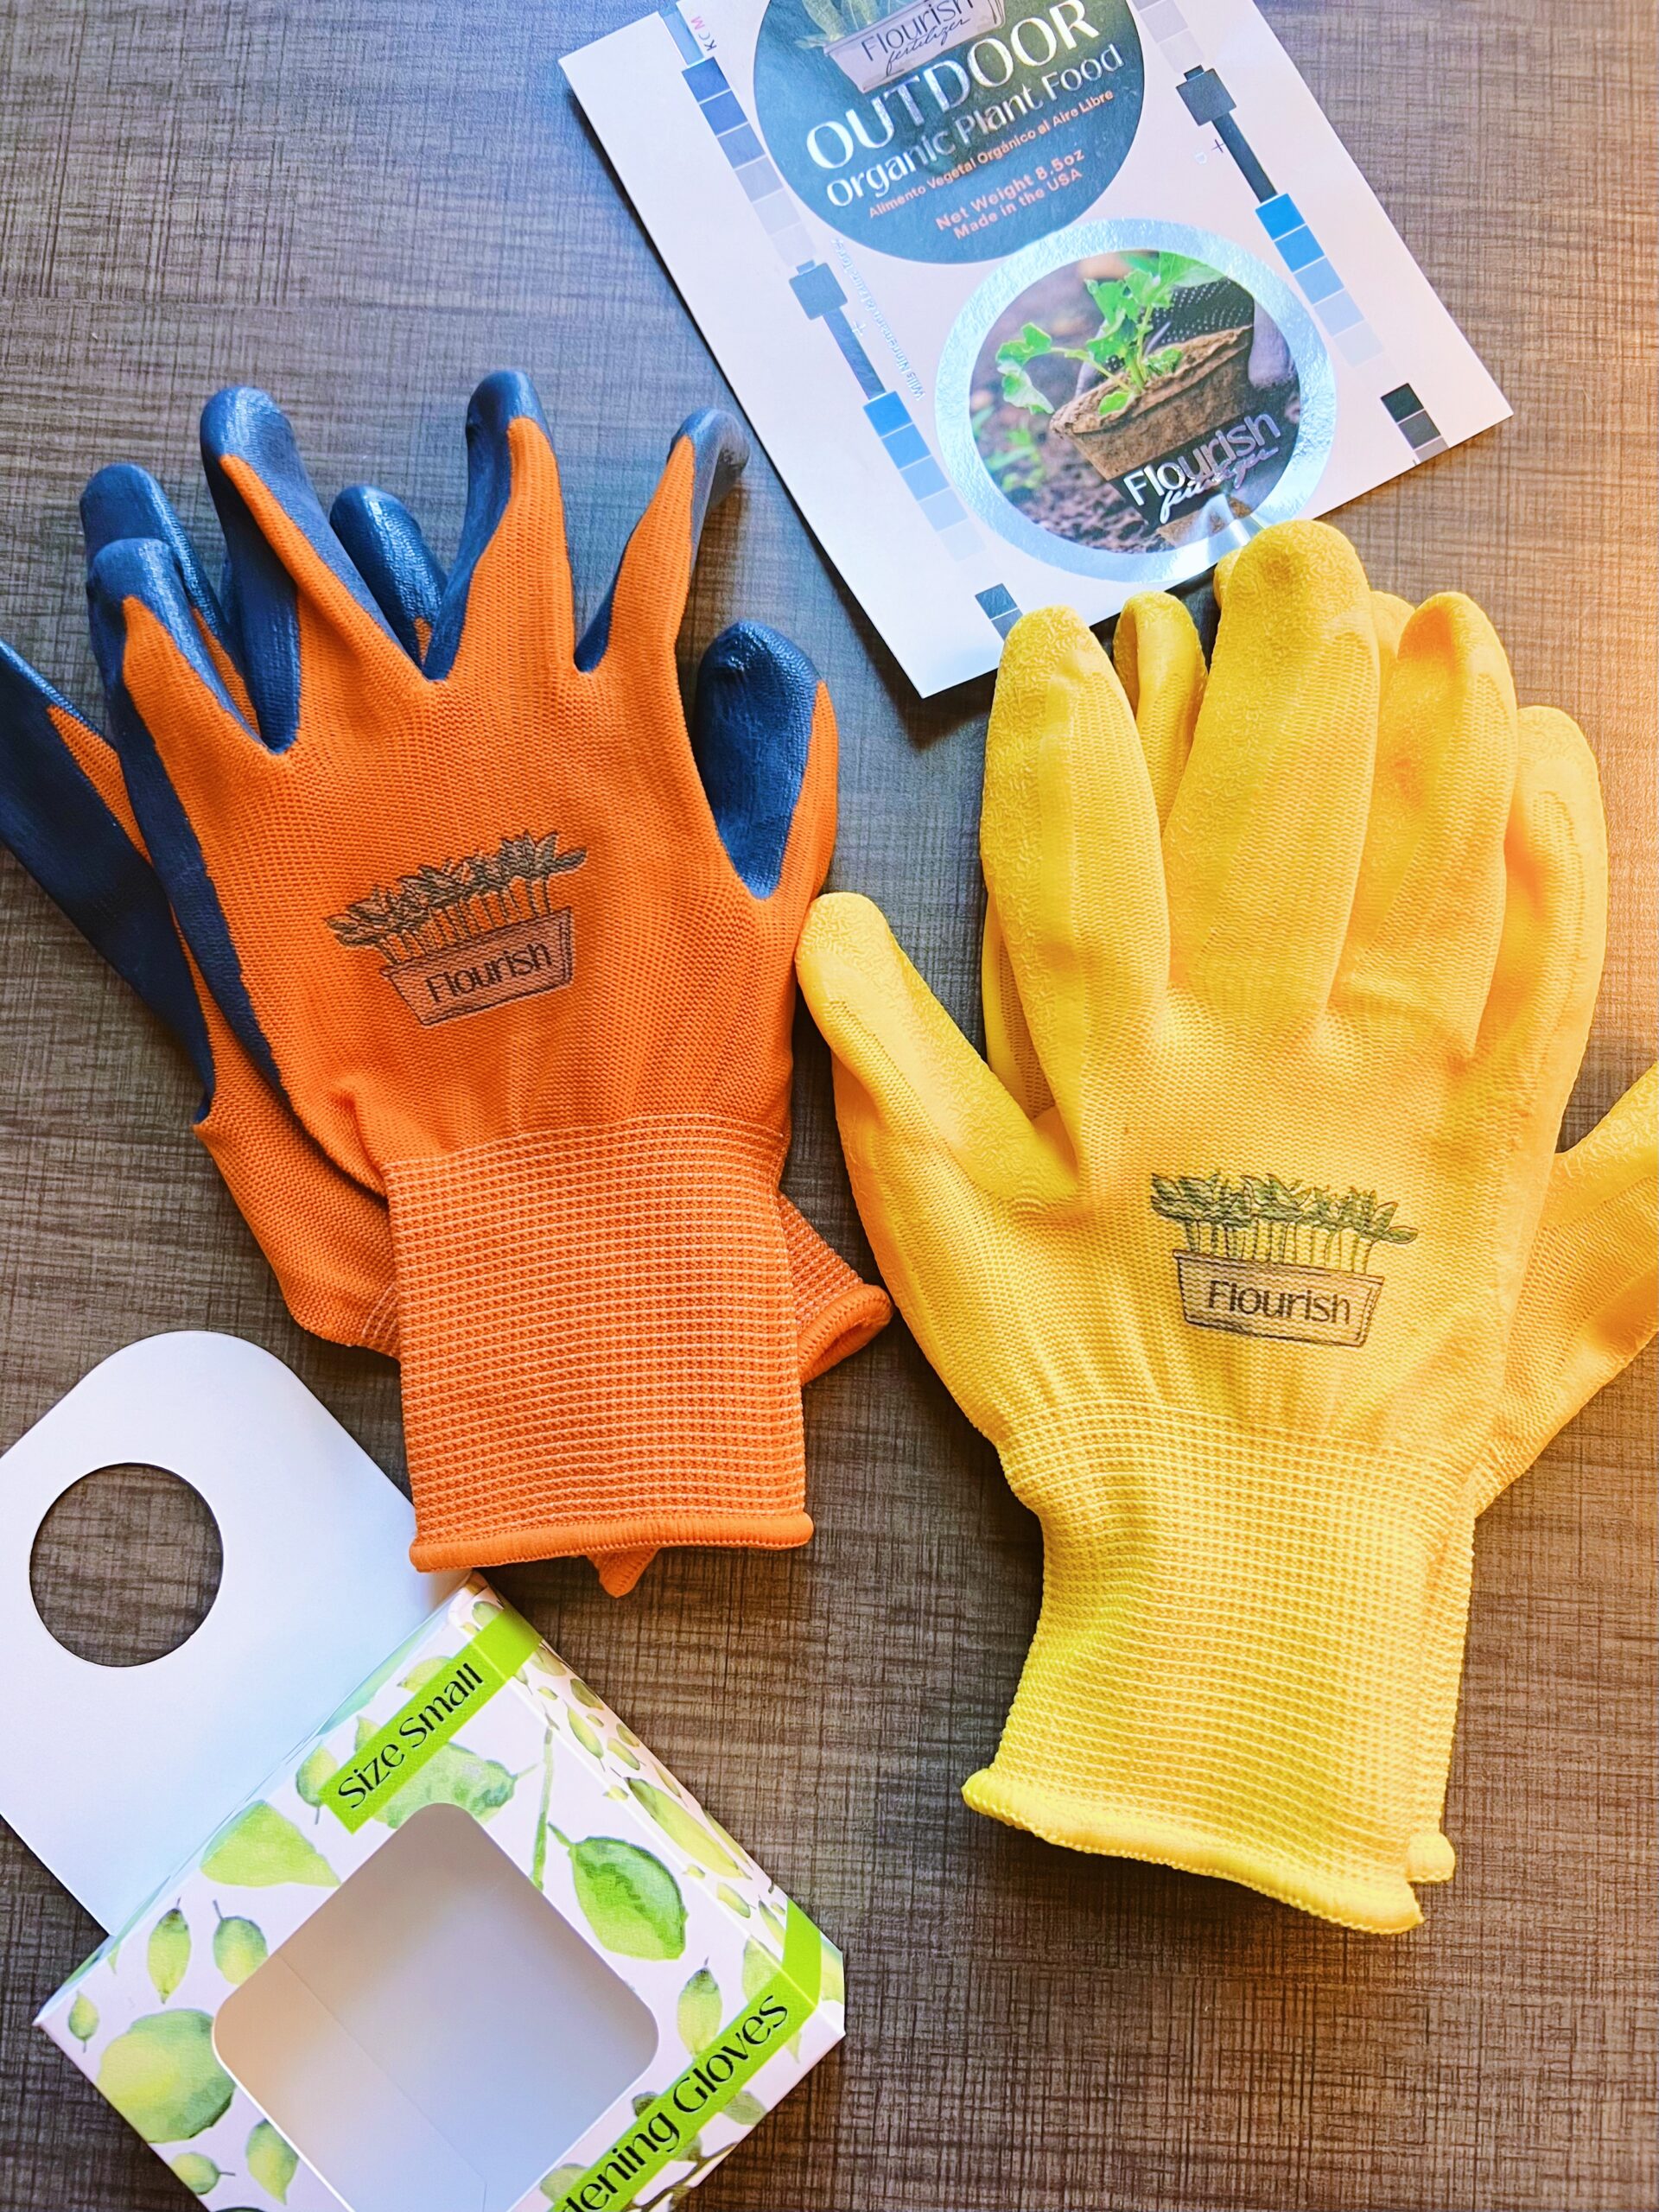
Hit “play” on the videos below to see the final specialty print on garden gloves!
Use the left and right arrows to scroll through some images of the process!
